Beach waves are one of those iconic hairstyles that seems easy to do, right? But in reality, creating loose waves that are “undone in an effortless way” (as celebrity hairstylist Franck Izquierdo describes them) is surprisingly…tricky. Every time I try to get beachy waves à la Camila Morrone, I end up hunched over a YouTube beach-waves tutorial, sweaty, with half-finished waves all over my head—i.e., the opposite of “effortless.” But it makes sense: Trying to get loose waves will require drastically different tools and products, depending on the hair type you’re starting with (see: my fine, thin, curly hair).
So to make it easier on future me—and all of you right now—I spent a ridiculous amount of time learning the basics of beach waves and rounding up the best beach-wave tutorials for every hair type and preference. So whether you’re trying to do beach waves on short hair or 4c hair, or you’re figuring out how to do heatless beach waves or flat-iron waves, I’ve gotchu covered with the easiest tutorials, below.
How to get the best beach waves:
But first, let’s break down a few of the most-helpful beach-wave tips from the experts:
Straighten out your texture first
Beach waves will always be the “easiest” to get on straight hair, because you have no existing texture to compete with. So regardless of which tutorial you try below, you’ll want to first prep your hair by straightening out your natural texture—especially if you’re starting with type-3 curls or type-4 hair.
Just work a heat protectant through your curls then roughly straighten your hair. Don’t worry about getting it perfectly sleek and straight—the point here is to just neutralize your texture a bit before creating your waves.
Decide on heat vs. no heat
Typically, the process of creating beach waves is done with a curling iron or hair straightener, says Izquierdo. But if you don’t want the heat damage, he says you can also try getting heatless beach waves by braiding damp hair in pigtails and allowing it to air dry. Then—if you’re okay with a lil bit of heat—he recommends “lightly clamping your flat iron down each braid.” It’s not required, but it does “help set the braid-wave pattern and ensure a consistent wave,” says Izquierdo.
Start with a texturizing base
If your hair naturally falls straight and flat after a few hours, you’ll want to prep your damp hair with a texturizing and volumizing product, like a curl-enhancing mousse or a volume-boosting mousse. These formulas are typically filled with polymers and hydrators that can help “activate” your wave pattern after curling, without feeling greasy, crunchy, or heavy.
Now keep scrolling to find the best beach-waves tutorial that matches your hair type—promise they’re easy to follow.
1. How to get beach waves on short hair
This content is imported from youTube. You may be able to find the same content in another format, or you may be able to find more information, at their web site.
Got short hair? Great—it’ll take you even less time to get beach waves on short hair. To DIY at home, content creator Amber Scott suggests grabbing a smaller, one-inch curling iron or wand, since a smaller barrel will be easier to use on your shorter pieces. After sectioning off your hair, grab strips of hair and wind them around your iron or wand, twisting away from your face (no need to get super methodical about how wide your pieces are—the less perfect, the better).
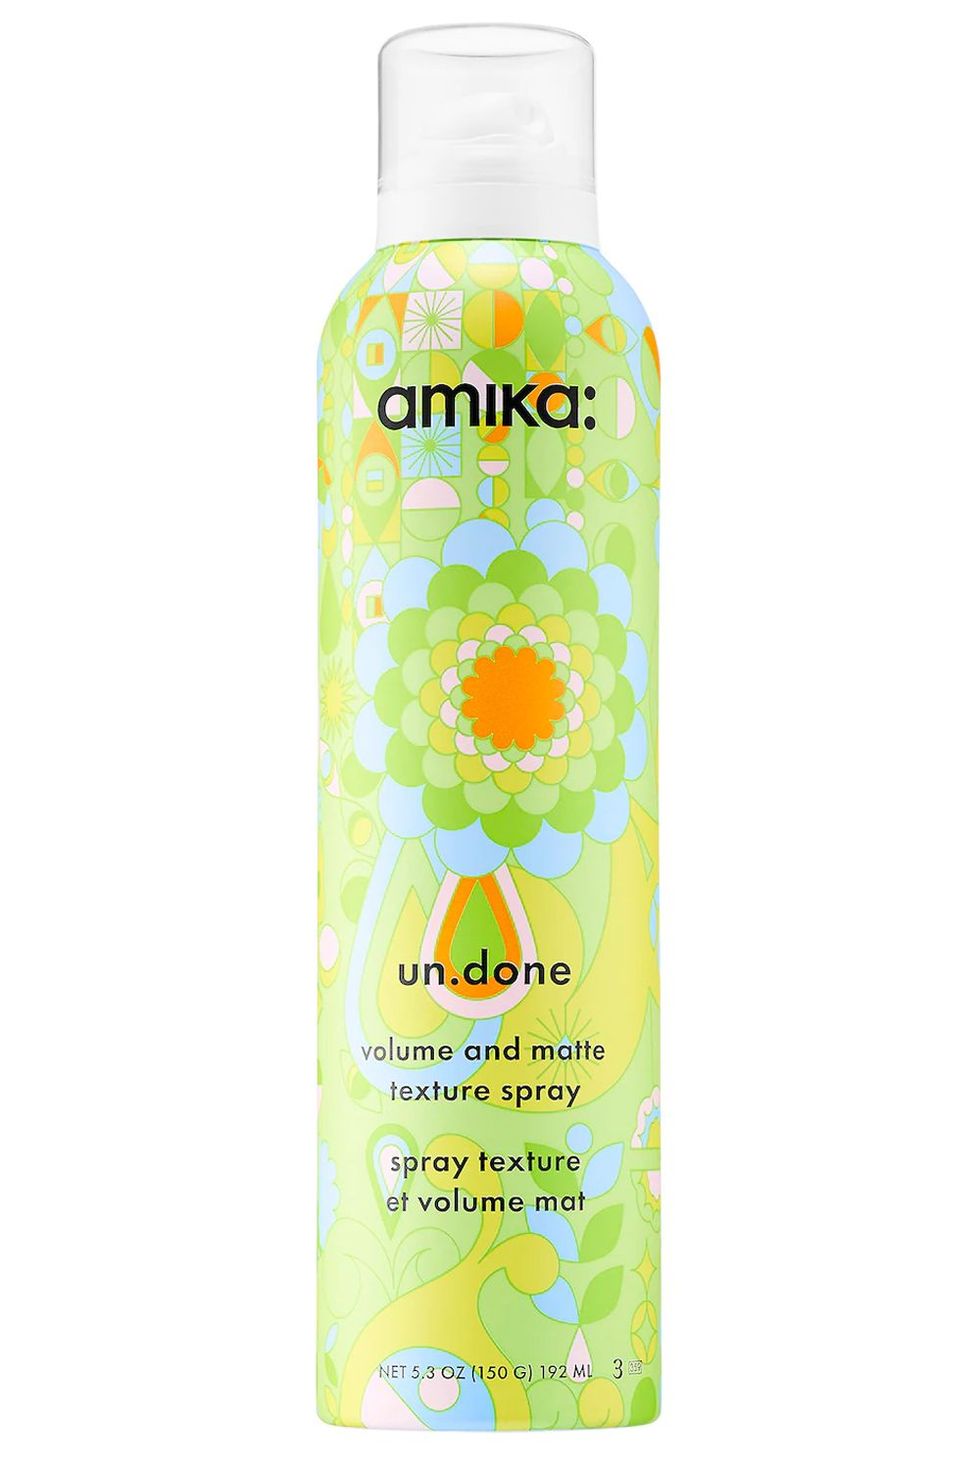
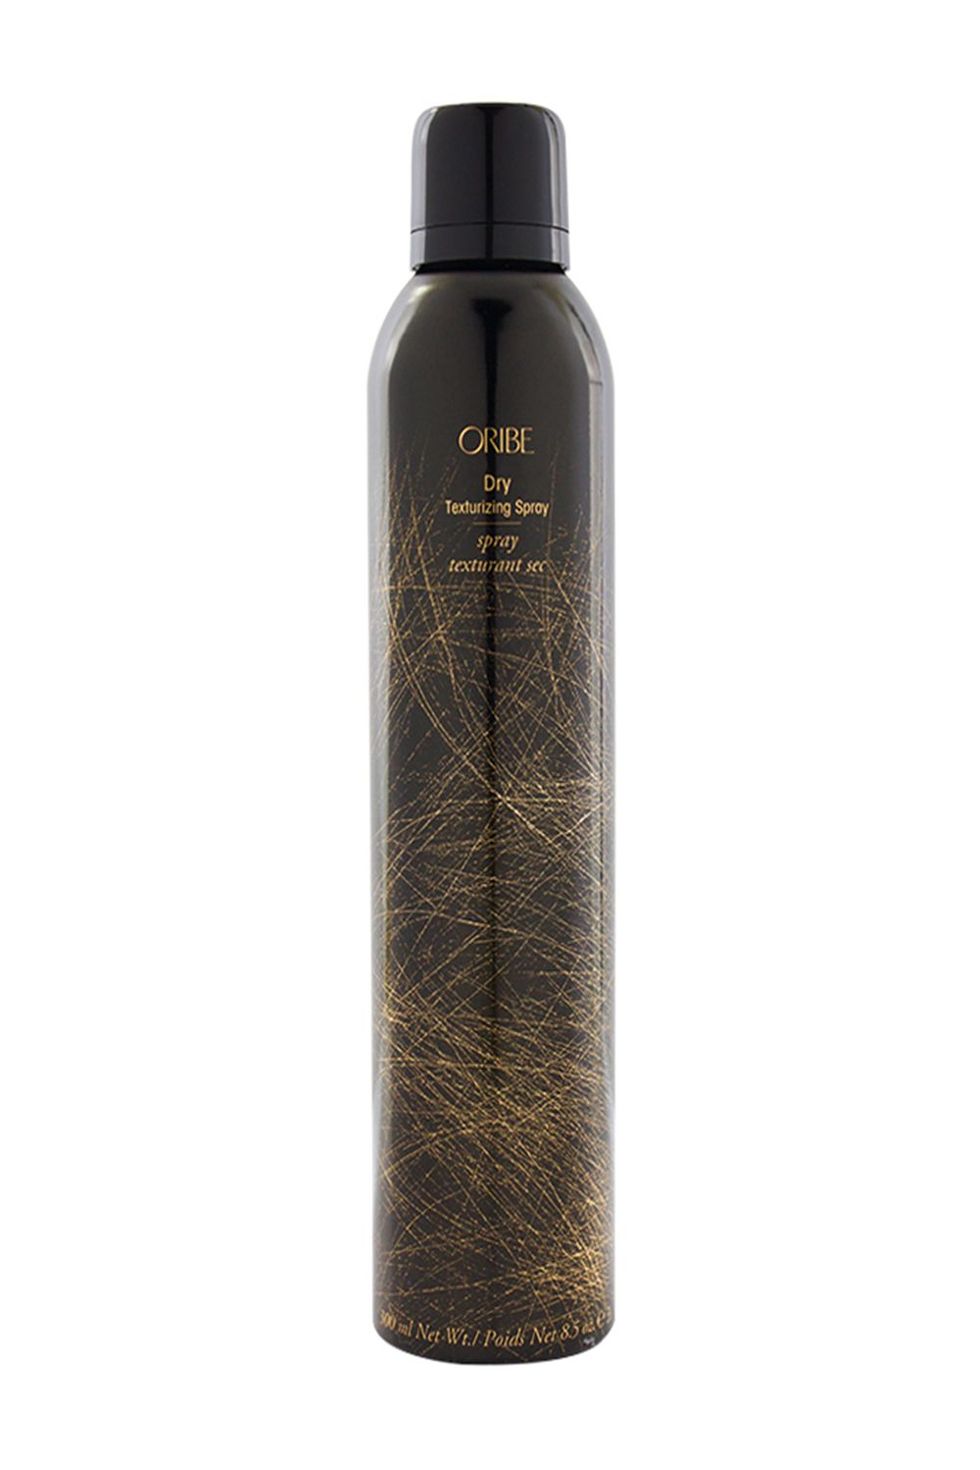
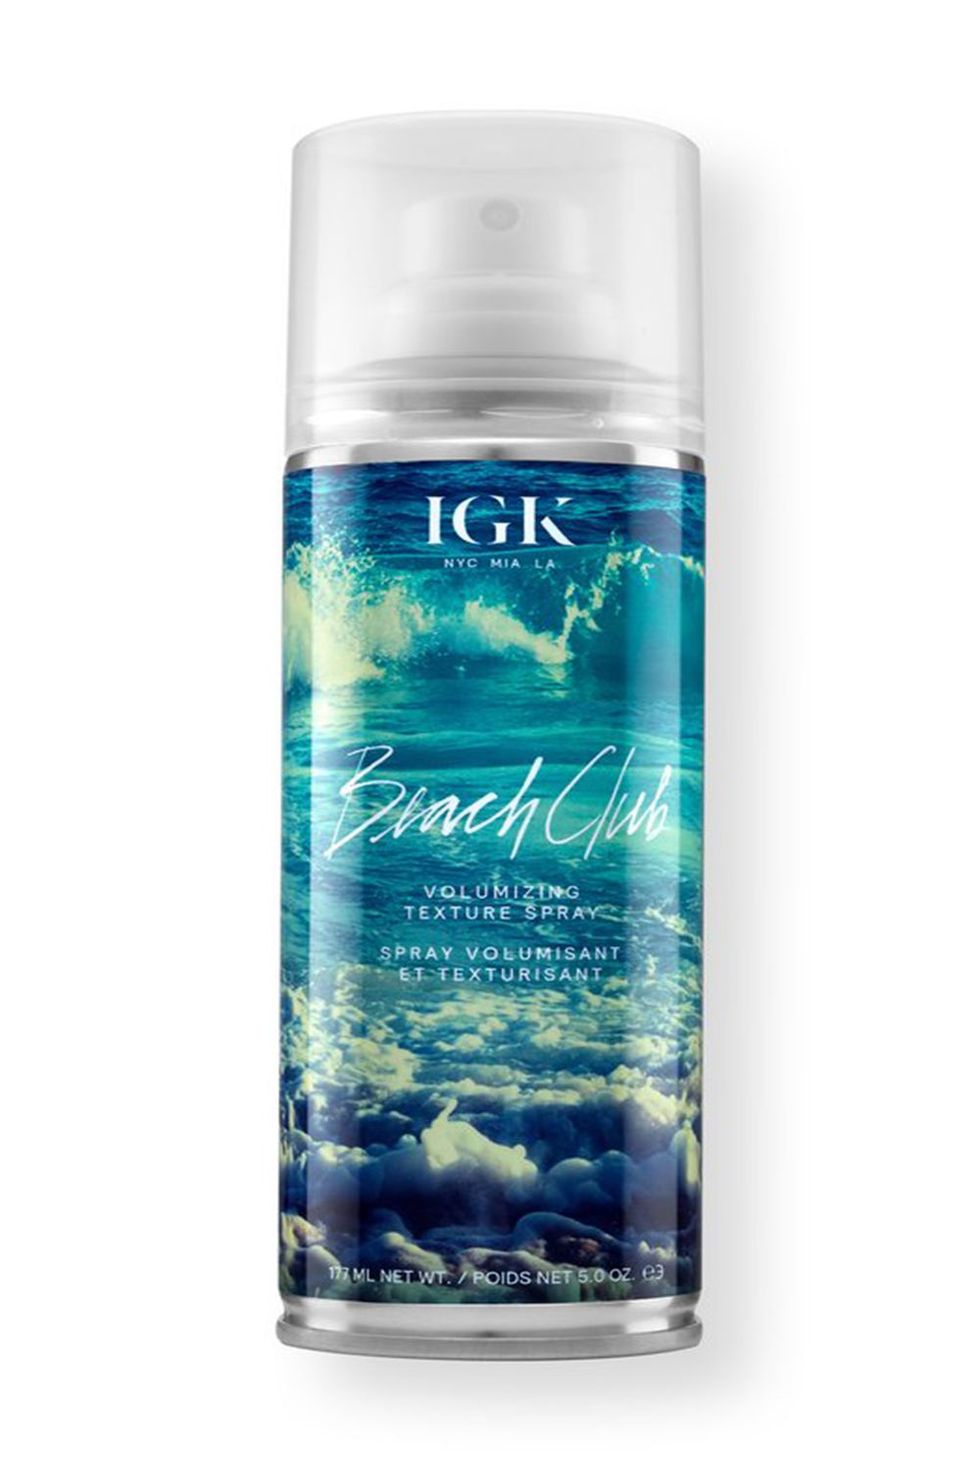
After your waves cool and you’re finished with your heat tools, blast a thickening spray or texture spray through your roots to add volume, grit, and oil-absorbing powders to your scalp.
2. How to get beach waves with a flat iron or straightener
This content is imported from youTube. You may be able to find the same content in another format, or you may be able to find more information, at their web site.
The perfect beach waves don’t always require a curling iron or wand—you can actually get really excellent results with a hair straightener, as seen in this easy-AF tutorial from Emily DiDonato, a content creator, model, and founder of Covey Skincare. Working in two-inch sections (alligator clips will be v helpful here), clamp your flat-iron over your hair, right at the root, then twist the iron away from your face and—while still clamped—pull it down to the ends of your hair.
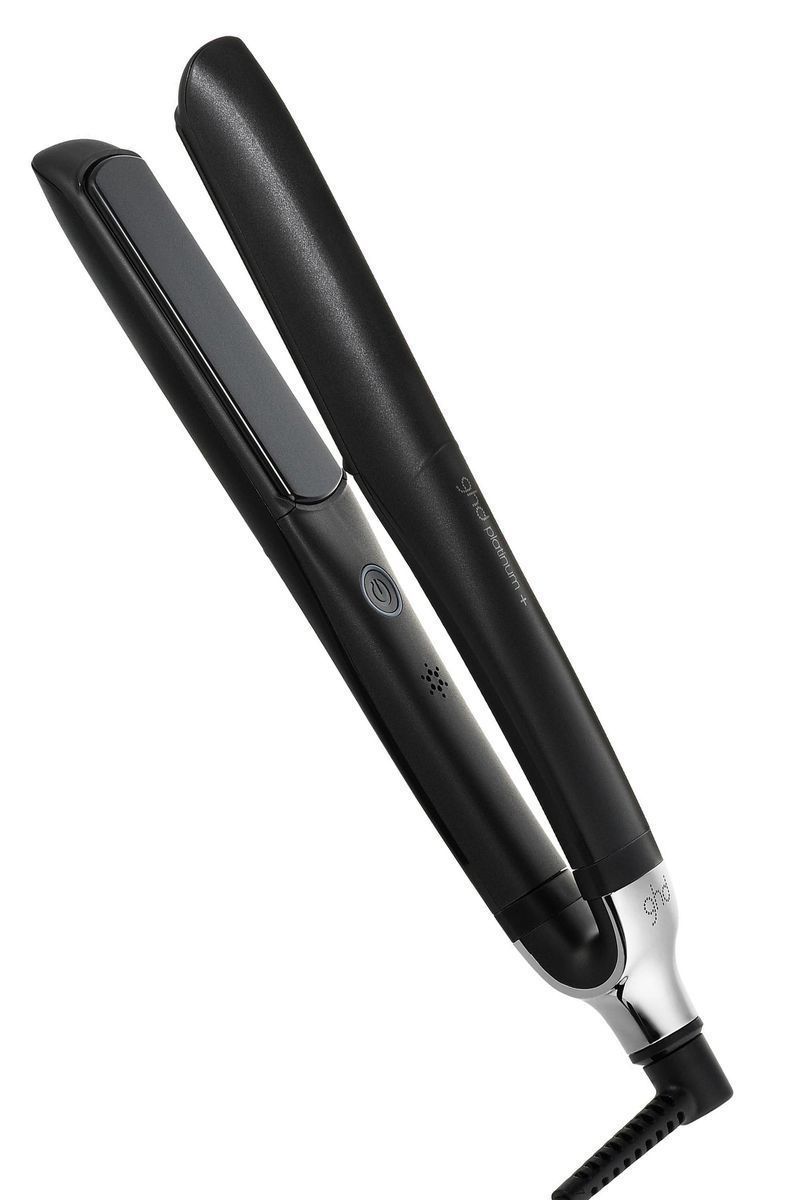
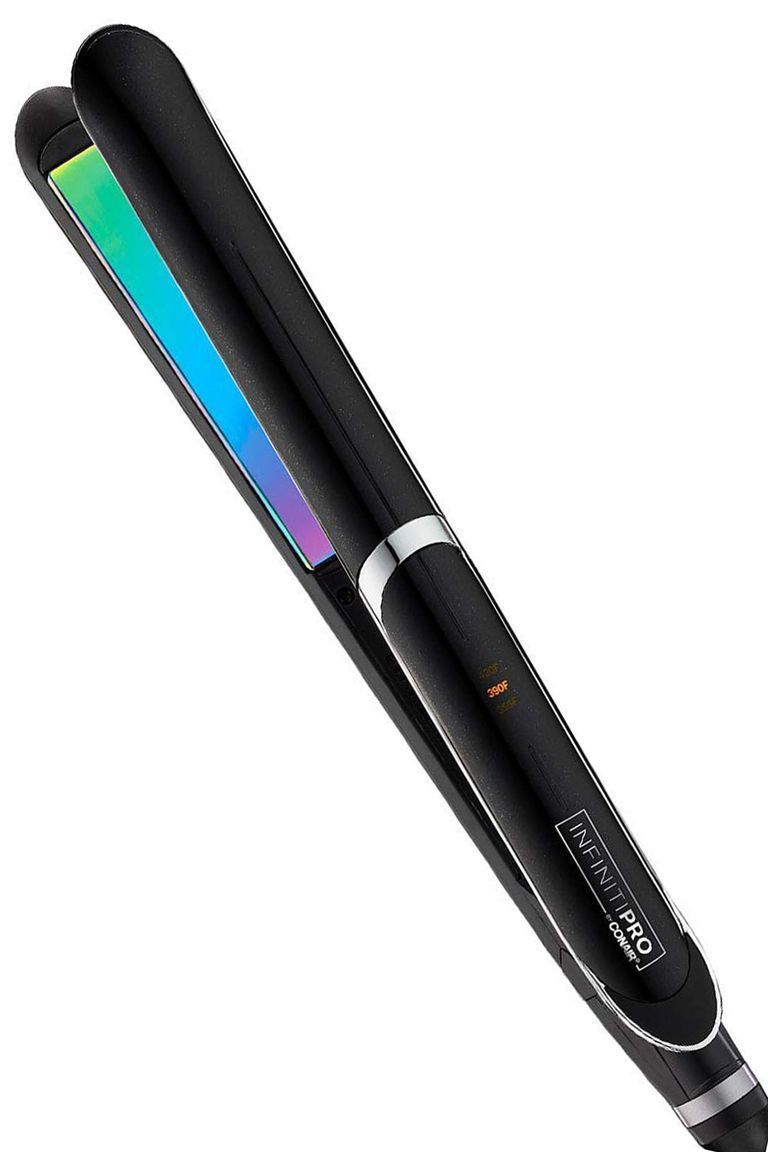
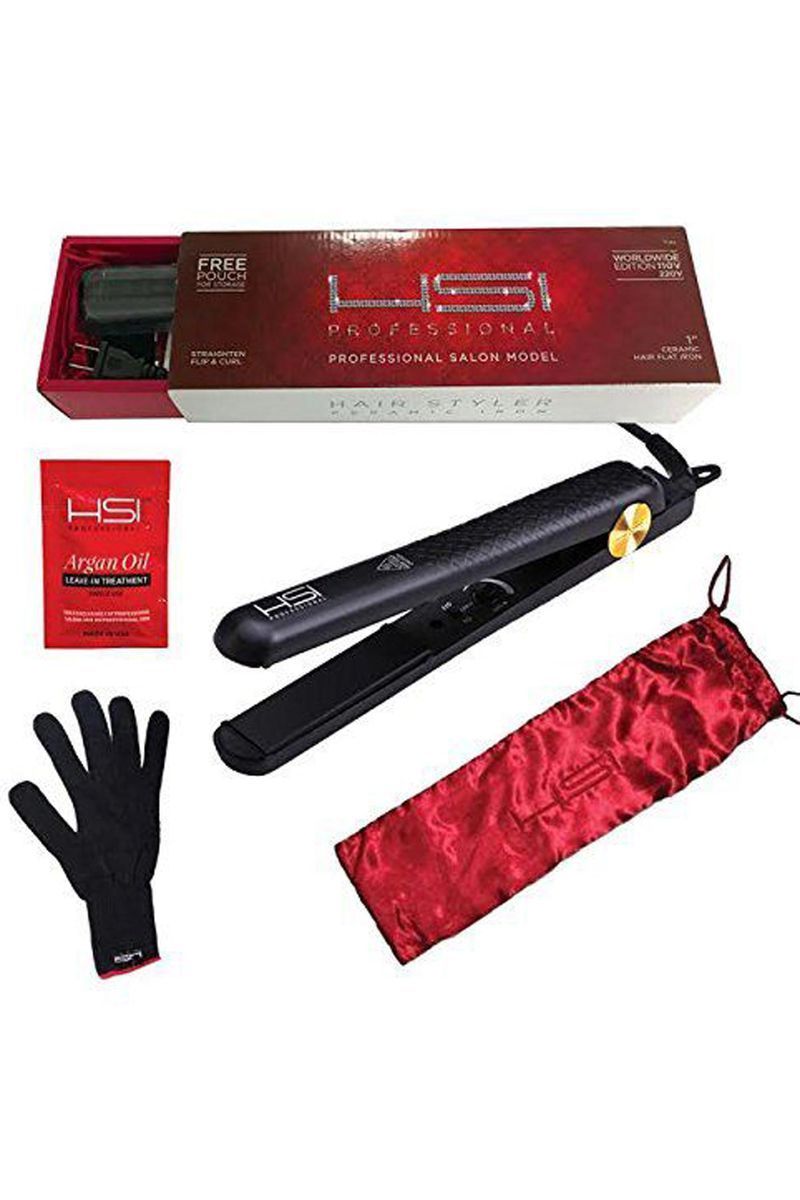
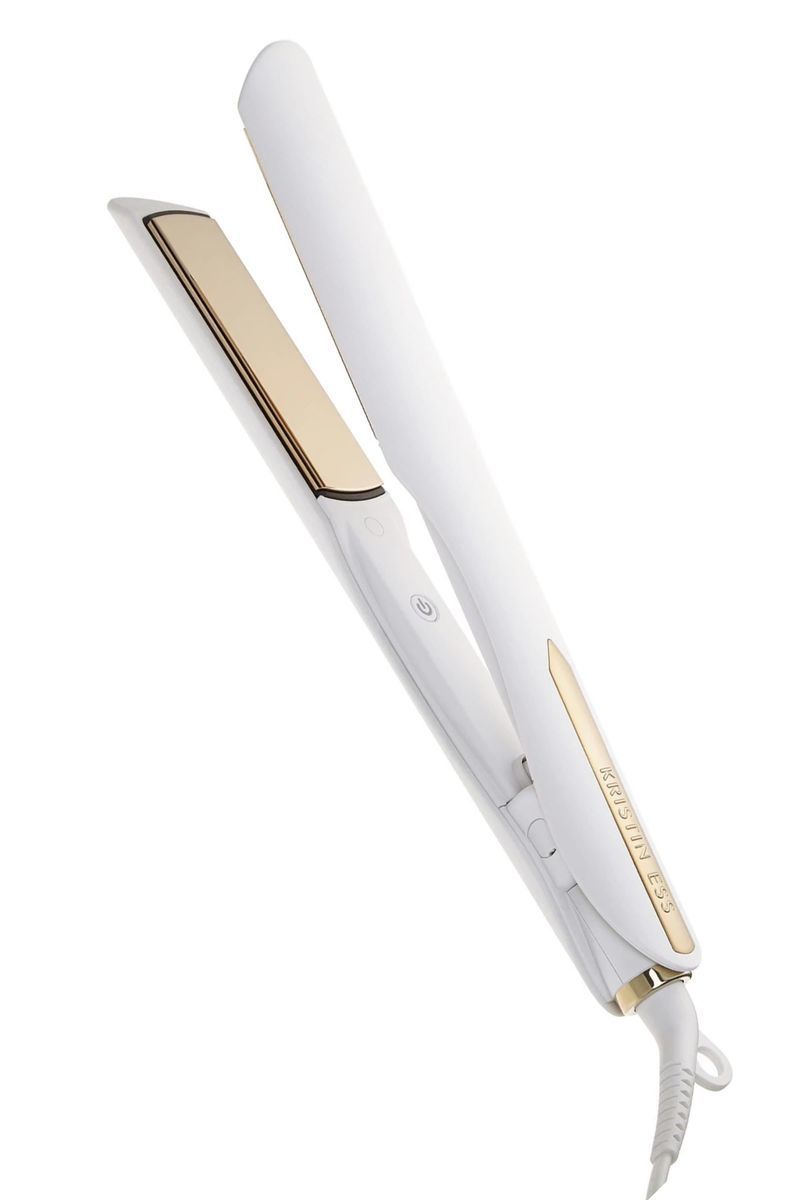
When you unclamp the iron, you’ll be left with a shiny, bouncy curl—which, DW, you’ll then rake through with your fingers until you’ve got a loose beach wave. Don’t have a good flat iron? These bbs are a great place to start:
3. How to get beach waves on natural hair or 4c hair
This content is imported from youTube. You may be able to find the same content in another format, or you may be able to find more information, at their web site.
These voluminous beach waves are the result of simple twists—specifically, a flat twist into a three-strand twist (so yes, you’ll want to have your twisting game down before DIYing this one). To recreate these beach waves from creator Bria Larine, you’ll first want to blow out your 4c hair to stretch your hair and get a straighter texture. Then, you’re going to work section by section to create your twists.
First, section off a one-inch strip of hair, work a dollop of curl cream through it, then flat-twist until you’ve reached the halfway point. When you hit the midway point, split the two sections of hair into three, and finish with a three-strand twist-out all the way to the end.
Once your hair is dry (pro tip: Slip on a bonnet dryer to really set the waves), rub a few drops of hair oil between your hands before unraveling your twists to help redefine your waves. To finish, left and shape your hair with a pick for extra volume.
4. How to get beach waves overnight
This content is imported from youTube. You may be able to find the same content in another format, or you may be able to find more information, at their web site.
Don’t feel like spending all day on your beach waves? Literally who does. Enter: This overnight beach-waves tutorial, which requires five minutes of prep work right before bed. On damp hair, content creator Shonagh Scott suggests spritzing on a leave-in conditioner, then blow-drying or air-drying your hair it’s about 90 percent dry (just barely damp).
Then, flip your hair upside down, gather it at your crown, and create a basic three-strand ponytail braid. When you flip your hair back over, the braid might look a little droopy in the back, but it’s all a part of the process. Go to sleep, and when you wake up, gently unravel your braid, shake out your waves, and blast them with texturizing spray to keep them intact all day.
5. How to do heatless beach waves
This content is imported from youTube. You may be able to find the same content in another format, or you may be able to find more information, at their web site.
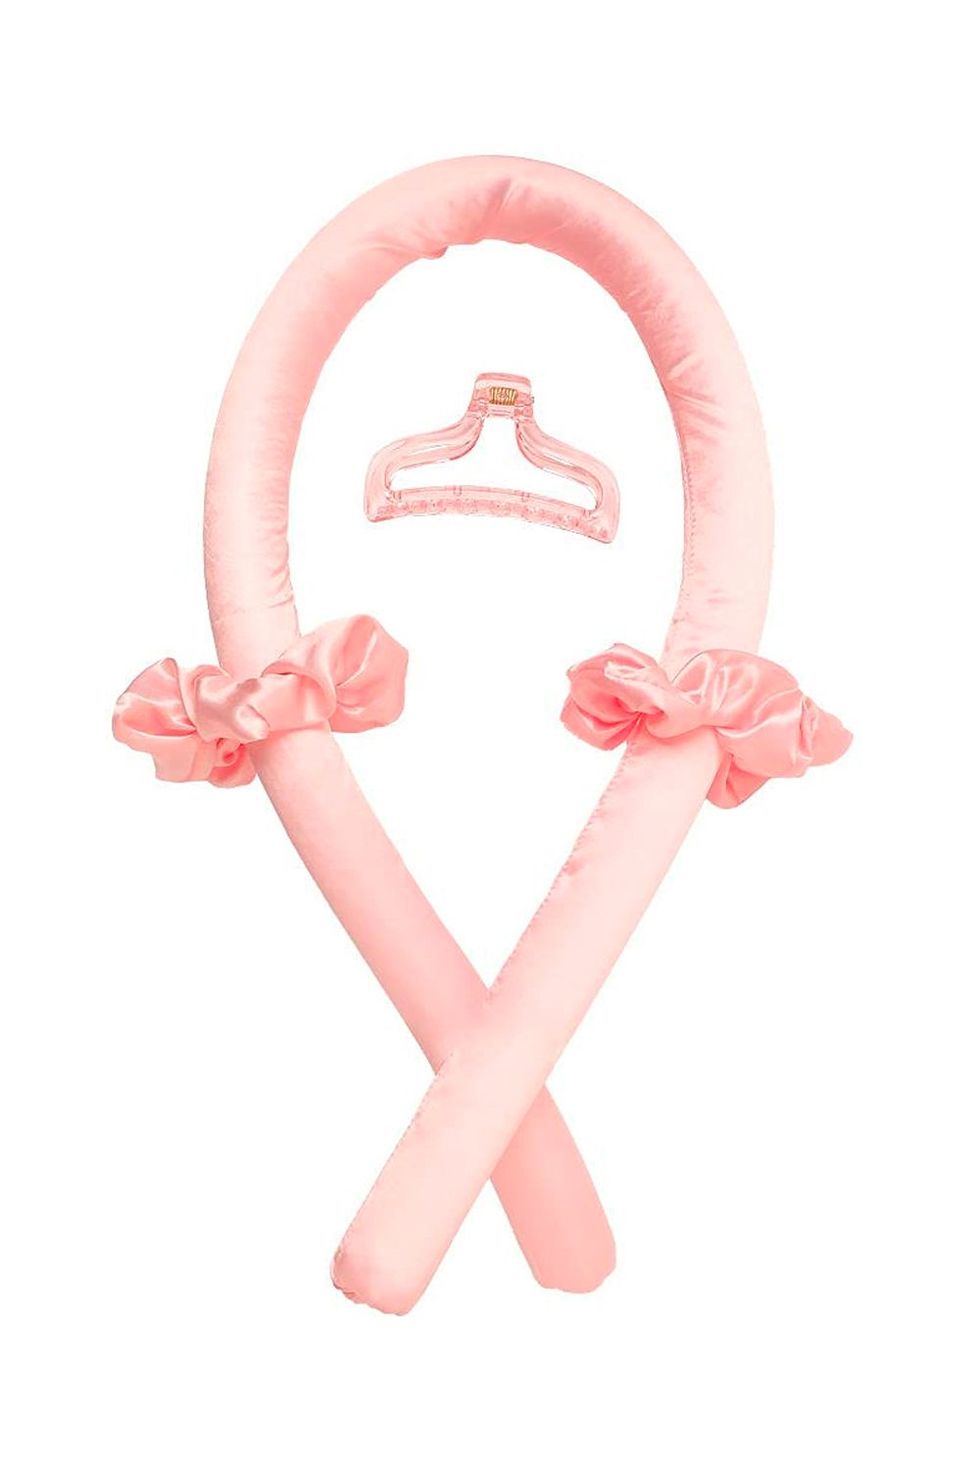
If you’ve been on TikTok in the last, IDK, five minutes, you’ve definitely already seen this heatless beach-waves hack. And unlike some of the more ~questionable~ TikTok Trends, this one is pretty legit. All you’ll need is four hair ties and a thick bathrobe belt (or knee socks or tights, says creator Jessica Vu),
Center your belt on the top of your head where you’d place a headband, then twist two-inch sections of hair around the belt, joining each section until you’ve created one long twist. Secure the end with a hair tie, then twist it into a high bun (a big scrunchie is key here). Repeat this process on the opposite side of your head, go to bed, and gently untwist everything when you wake up. Mist your hair with hairspray to make sure the waves hold, then rake through them with your fingers to break them up.
6. How to get beach waves with a curling wand
This content is imported from youTube. You may be able to find the same content in another format, or you may be able to find more information, at their web site.
Because this tutorial requires the use of a curling wand, prep your strands with a heat-protectant spray first (creator Maria Bethany, here, also sprays her hair with hairspray before she starts styling—a trick she says helps her curls hold longer). To curl your hair, wrap a one-inch section of hair around the wand away from your face, leaving the ends free.
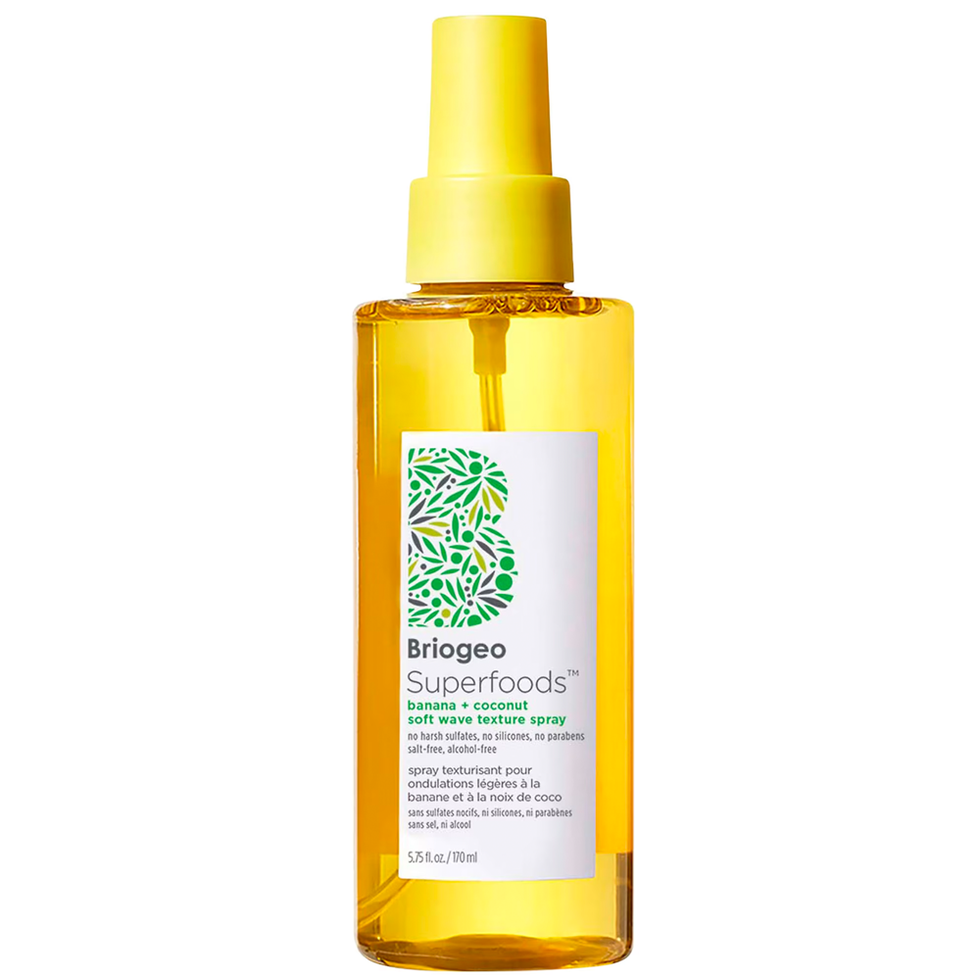
Once you’re finished curling your whole head, find about five sections of hair that need touch-ups and re-curl them—but this time, wrap the strands in the opposite direction (toward your face) to alternate the curl pattern and give your hair a realistic-looking beachy texture. Finish with a spritz of sea-salt spray and a texturizing spray to add some texture to your beach waves.
7. How to do beach waves on long hair
This content is imported from youTube. You may be able to find the same content in another format, or you may be able to find more information, at their web site.
If you can never seem to get the hang of curling your hair in the right direction, try this trick from creator Giorgina Juanita: Pull your hair up into a super-high ponytail—then pull it up even higher and as close to your hairline as possible. After tying it off with an elastic, begin curling one-inch sections of your ponytail, leaving two inches uncurled at the bottom.
Once your entire ponytail has been curled, remove the hair tie and and use your fingers to tousle and separate the curls. Run a wide-tooth comb through your curls to loosen them, then spritz a salt spray into your hands and rake through the ends of your hair to add natural-looking texture.
8. How to get beach waves on layered hair
This content is imported from youTube. You may be able to find the same content in another format, or you may be able to find more information, at their web site.
If anyone can master beach waves, it’s hairstylist and content creator Guy Tang. He recommends turning a one-and-a-half-inch curling iron on a low setting (around 260 degrees to 350 degrees) to get the most realistic beach waves. After sectioning your hair, wrap a one-inch section around your wand—alternating toward your face and away from your face each section—and drag the iron down from the roots to the ends. Confused? Exactly why we have this tutorial here.
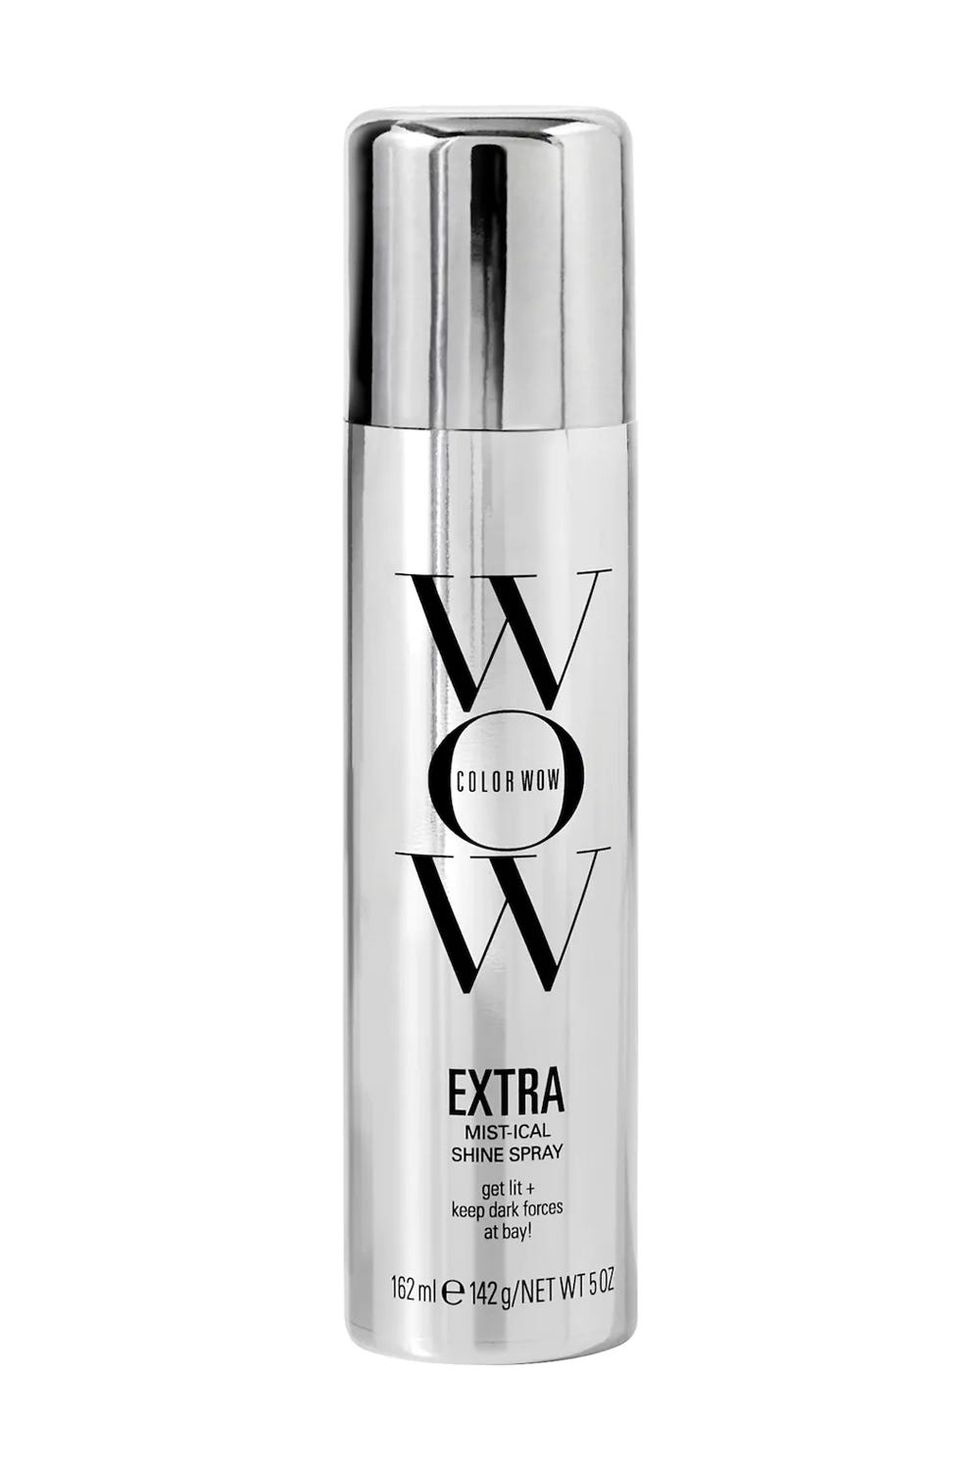
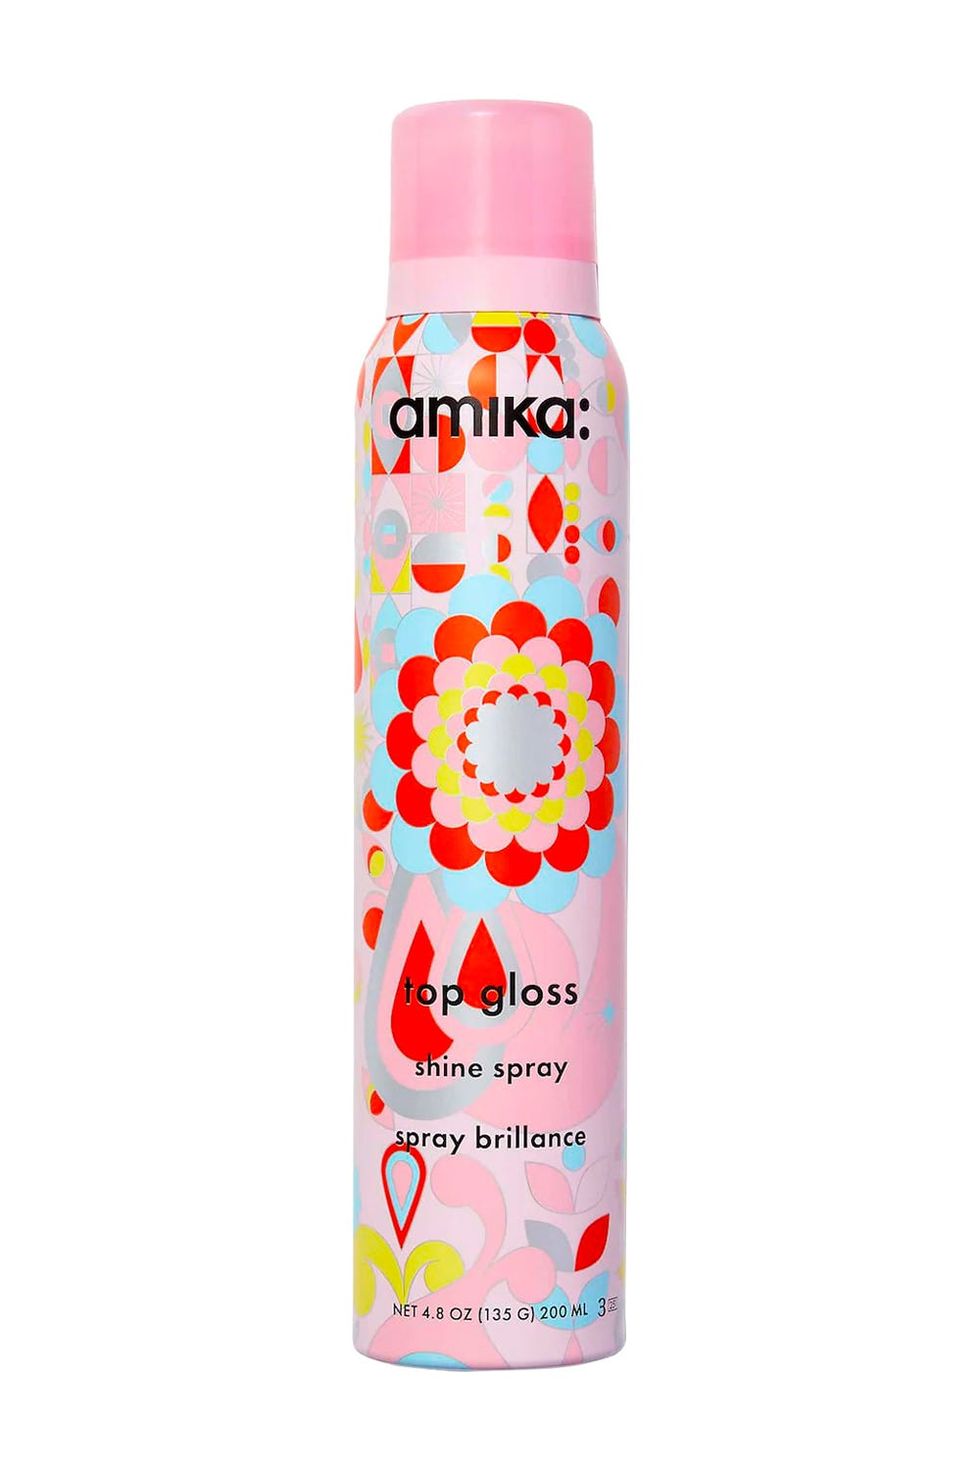
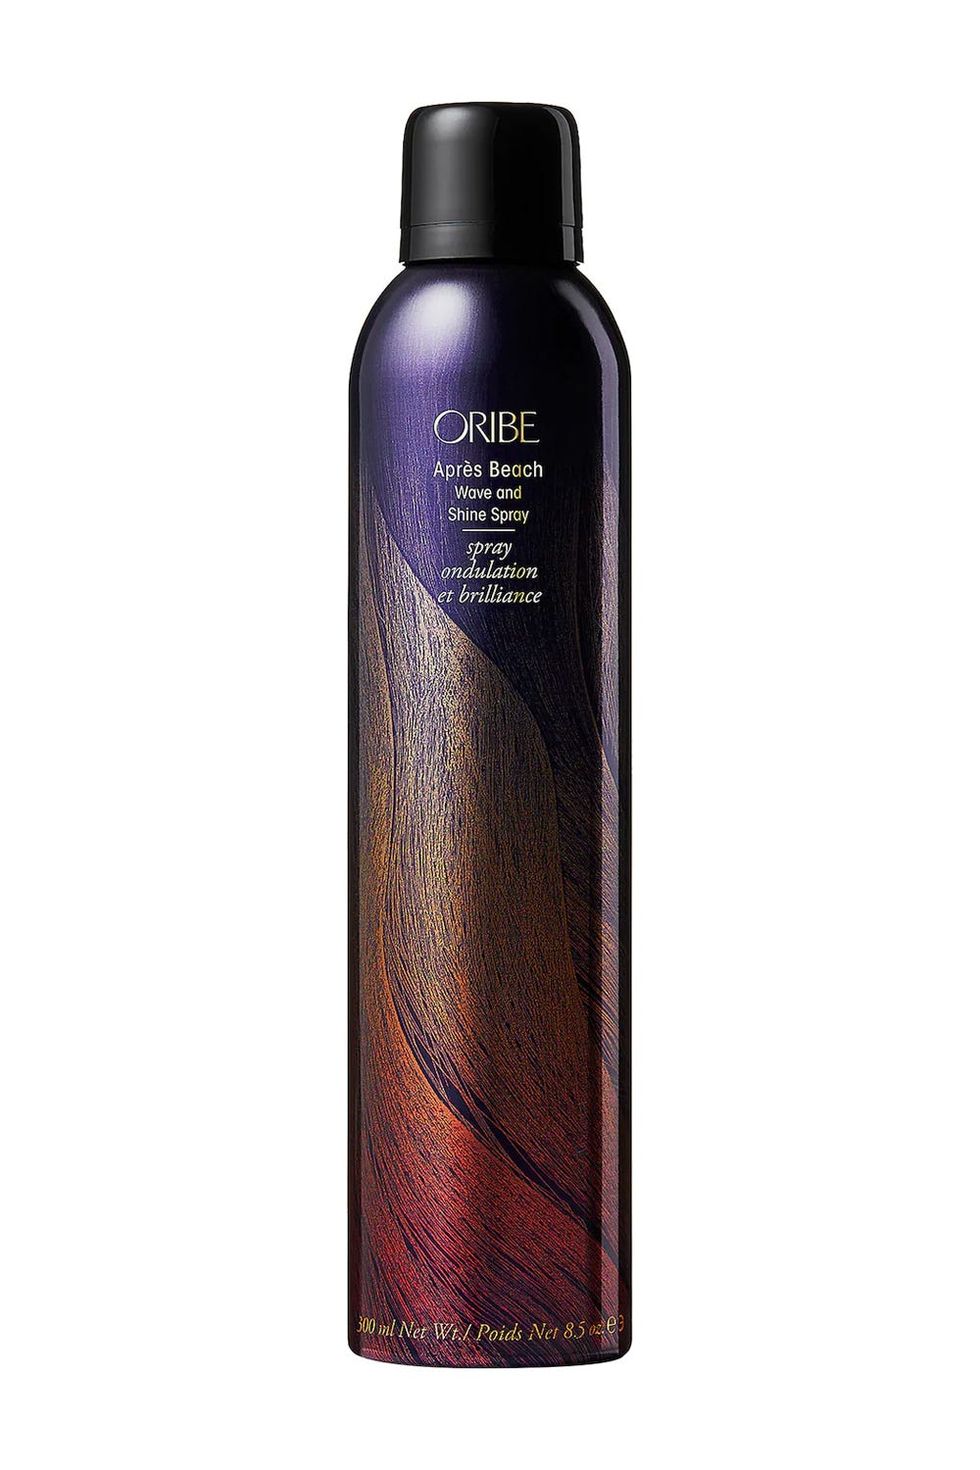
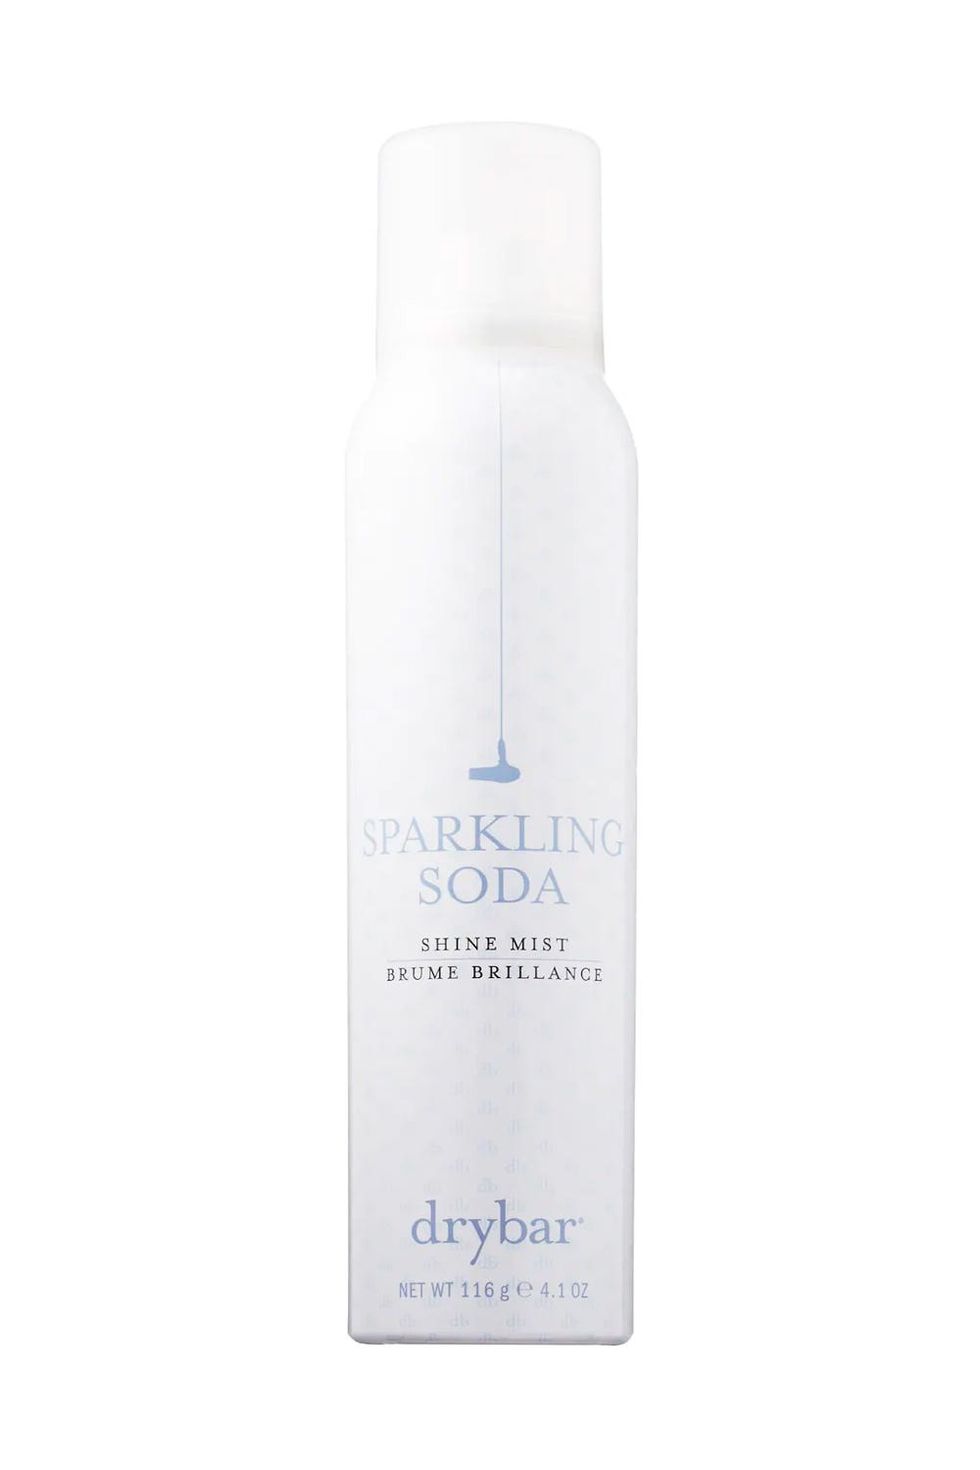
To get that ultra-glossy look, mist a shine spray all over your hair (holding the bottle at least a foot away for a lightweight coating) and allow it to gently fall on the hair.
Meet the experts
Why trust Cosmo?
Chloe Metzger is the deputy beauty director at Cosmopolitan with nearly 10 years of experience researching, writing, and editing haircare stories in print and digital, including the best hair straighteners and the best hair-dryer brushes. She’s an expert in all hair categories, but especially when it comes to DIYing beach waves at home, thanks to a lifetime of testing tutorials on her own fine, curly hair. She picked these eight beach-wave tutorials based on how helpful and easy to follow each video was for different hair types.
Valeriya Chupinina was the beauty assistant at Cosmopolitan with five years of experience researching, writing, and editing haircare stories that range from gray hairstyles to hair toners. She interviewed hairstylist Franck Izquierdo for this story and based her product picks around his insights.

Deputy Beauty Director
Chloe Metzger is the deputy beauty director at Cosmopolitan, overseeing the editorial content and growth strategy of the hair, makeup, and skin space on digital, while also obsessively writing about the best hair products for every hair type (curly girl here; whattup), and the skincare routines that really, truly work (follow her on Instagram to see behind-the-scenes pics of that magazine life). She brings nearly a decade of writing and editing expertise, and her work has appeared in Allure, Health, Fitness, Marie Claire, StyleCaster, and Parents. She also has an unhealthy adoration for Tom Hanks and would like to please meet him one day, if you could arrange that. Thanks.
Valeriya Chupinina is a freelance beauty and wellness writer exploring the multifaceted connection between the aesthetic and internal. You can find her work in outlets like Coveteur, HYPEBAE, and NBGA. In addition to her editorial work, she consults on social media strategies for brands. You can keep up with her on Instagram @valeriyaliyevna.
Ruby was the beauty editor at Cosmopolitan, where she covered beauty across print and digital. Her work has appeared on The Zoe Report, Fashionista, and StyleCaster. Follow her on Instagram.
